Hair Consultation Guide: What to Expect Before Your First Salon Visit in Waco
Booking your first appointment at a new salon can feel intimidating. A hair consultation takes the guesswork out of it. It’s a simple planning conversation between you and your stylist before any service begins. If you’re exploring hair salons in Waco and want to feel confident before you commit, this guide covers everything you need to know.
Table of Contents
Why a Hair Consultation Matters Before Your First Appointment
A hair consultation is more than a quick chat. It’s where your stylist learns your hair history, understands your goals, and spots any concerns before recommending hair care services.
Modern consultations cover your color history, scalp health, daily routine, maintenance expectations, and budget. That’s a lot of ground, and covering it before your appointment means no surprises on the day. According to Zenoti’s 2025 survey, 71% of beauty clients said they’ve decided not to book because reaching someone or booking online was too difficult. A clear, structured consultation process removes that friction from the start.
What to Bring to Your Hair Consultation
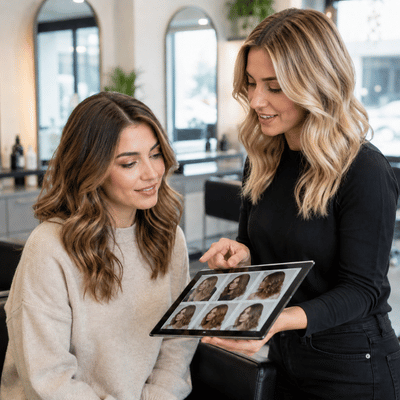
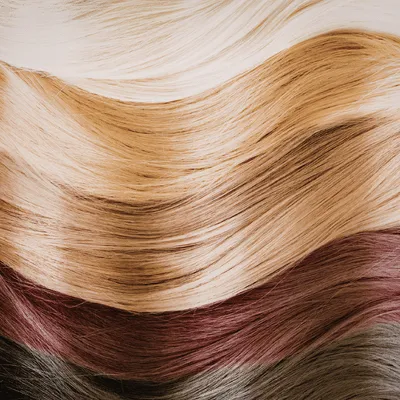
Your appointment will be more productive if you arrive prepared. Bring a general budget range, a few inspiration photographs, and an honest description of any color, bleach, or chemical services you’ve had. Mention any specialty items you use or any sensitivity to your scalp.
Your stylist will be able to plan more effectively if you are more honest. This is particularly crucial prior to color or hair treatment, since your medical history directly influences what is reasonable and safe during a single appointment.
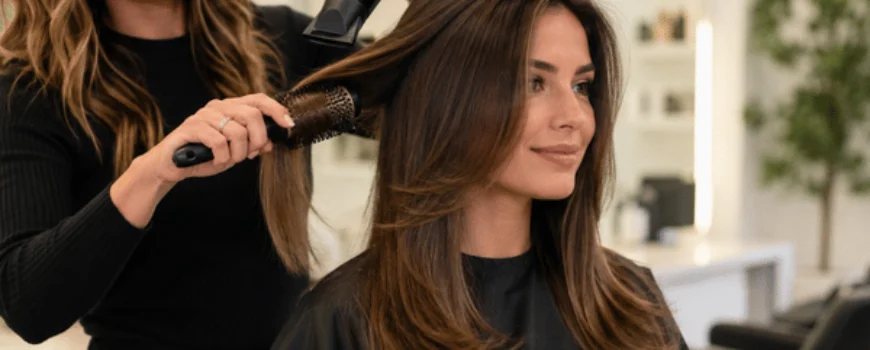
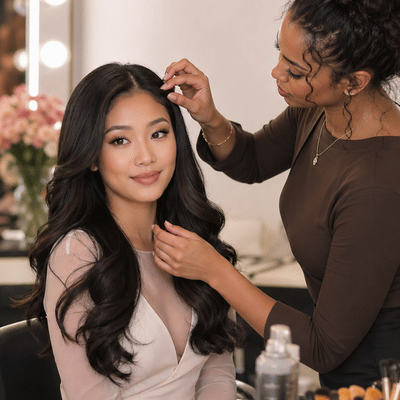
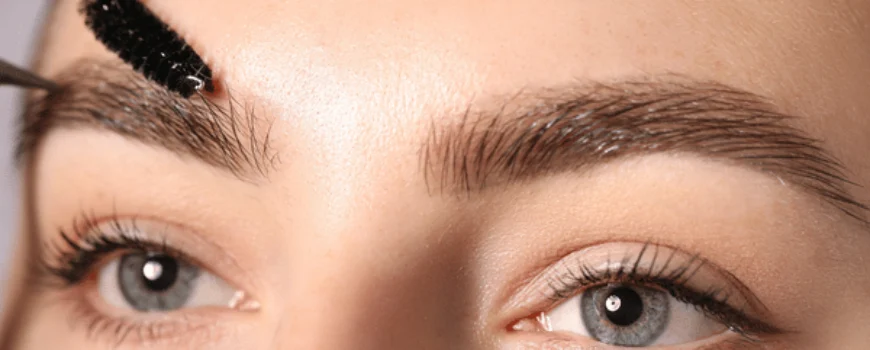
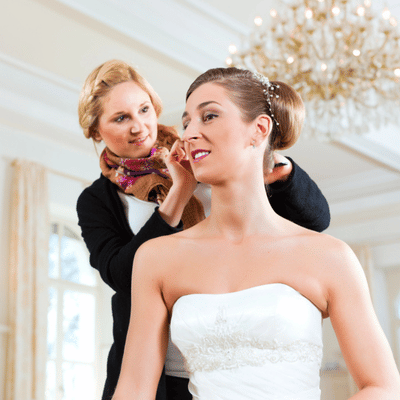
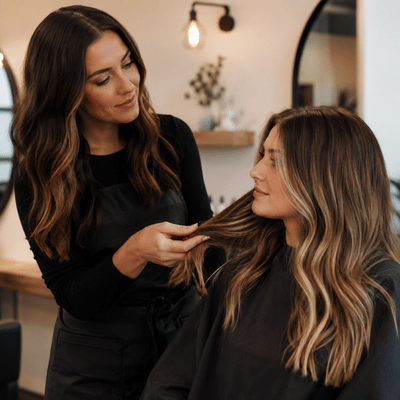
What Happens During Your Hair Consultation
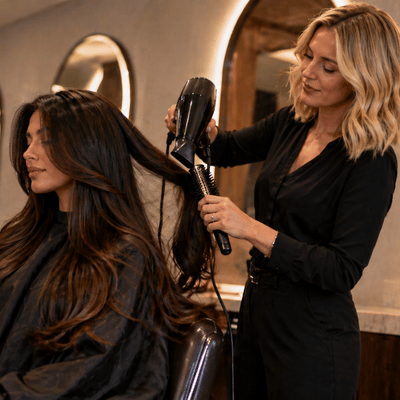
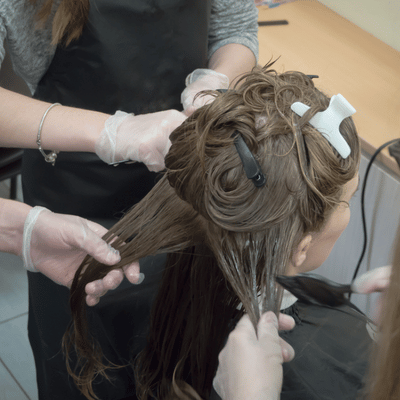
Your stylist will perform a visual and physical examination of your hair and scalp. From there, the topic shifts to your goals, what you can accomplish today, and what a longer plan would look like if you want to make a significant difference.
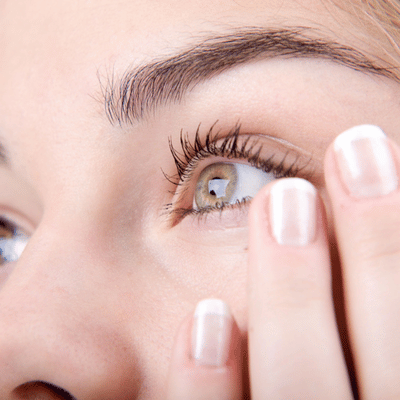
Scalp health is becoming an increasingly important element of the procedure. Kline’s March 2026 investigation identifies an increasing interest in scalp care and advises structured, education-based salon pathways that follow the “consult, treat, maintain” paradigm used in skin care. Bring up any dryness, flaking, or irritation you may be experiencing. Your stylist may incorporate scalp concerns into your overall hair care service plan and offer the best hair treatment from the beginning.
Pricing and session timelines are also part of this conversation, not an afterthought.
Questions to Ask Your Stylist
Don’t leave without getting clear answers on these:
- What’s realistic for my hair today?
- How many sessions will this take?
- What will maintenance look like month to month?
- What’s the price range for this service?
- What products should I use at home?
Questions to Ask
A reputable hair salon in Waco should be able to answer these clearly before your service begins. If a salon avoids pricing conversations before starting, that’s worth noting.
Pricing, Timing, and Booking at a Waco Salon
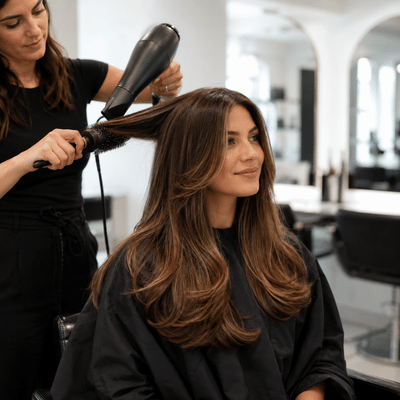
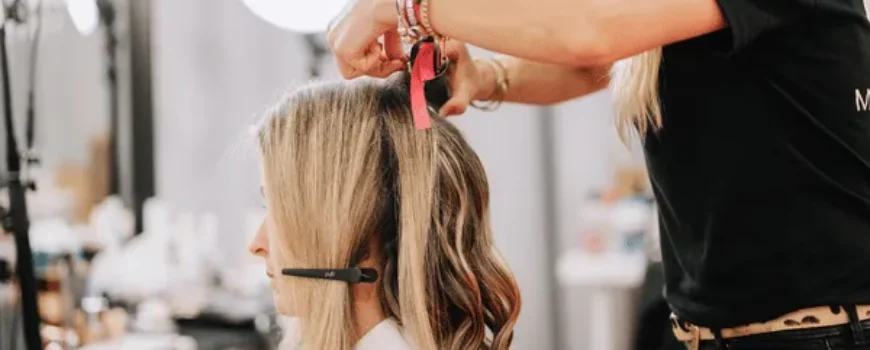
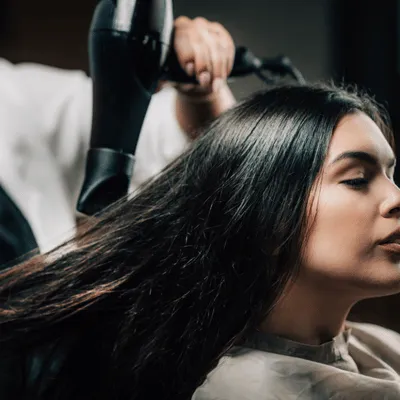
Simple services like blowouts typically have set menu prices. Complex services like color corrections or extensions are usually quoted after your hair consultation, once your stylist has a full picture of what’s involved.
At On The Avenue, located at 711 Austin Ave. in downtown Waco, the Blowout Bar menu is publicly listed. Some customized services, including certain extension methods, may require a consultation before a final quote or service plan. Online booking is available, and Square’s 2025 beauty industry report found that more than half of consumers now prefer scheduling and reminders handled digitally.
Local Tips Before Your Visit to Downtown Waco
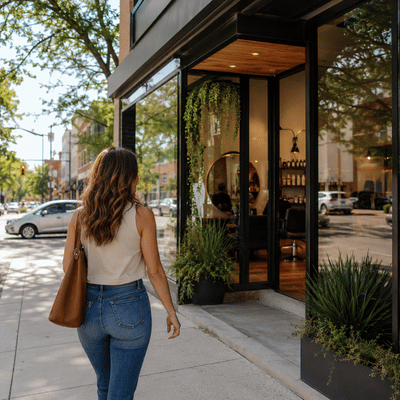
On The Avenue sits at 711 Austin Ave., street level below the Edison Lofts, right in the heart of downtown. Public parking is available throughout the area, but Austin Avenue may have weekday time limits. Baylor game days and local events can also affect traffic. Arriving a few minutes early on your first visit is always a good idea.
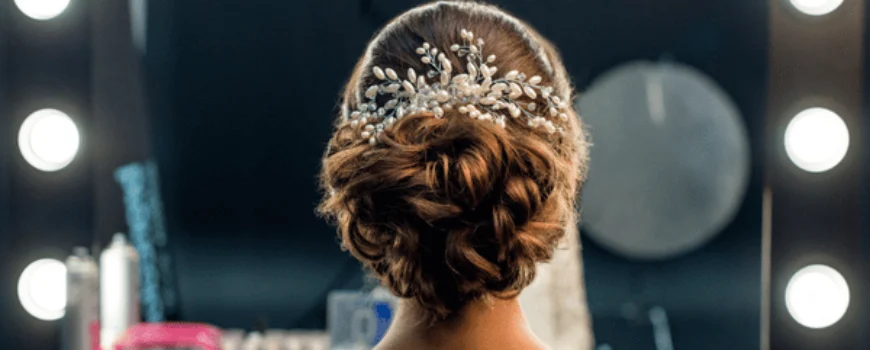
Not ready for a major change yet? Starting with a Blowout Bar service is a great way to get comfortable with the team before committing to color or a bigger transformation.
Book your hair consultation at On The Avenue today and walk in knowing exactly what to expect.
What is a hair consultation?
A hair consultation is a planning conversation that happens before your service begins. Your stylist uses it to learn your hair history, goals, scalp health, and budget so they can recommend the right path forward.
How honest do I need to be about the box dye or previous color?
Completely honest. Your color history affects what’s safe and what’s achievable in one appointment, so your stylist needs the full picture.
Will I get an exact price before my service starts?
Simple menu services usually have listed prices. Complex color and hair treatment services are typically quoted after the consultation, once your stylist knows what’s involved.
Do I need a consultation before every visit?
Only for your first visit or before a major change. Once your stylist knows your hair, regular appointments move much faster.
Should I start with a big transformation on my first visit?
Not always. Starting with a blowout or conditioning treatment is a low-pressure way to get comfortable with a new salon before booking something major.
Where should I park for my appointment in downtown Waco?
Public parking is available throughout downtown Waco. Austin Avenue has weekday time limits, so check signs and plan to arrive a little early on busy days.
A first hair consultation should make your salon visit feel clear, calm, and well planned. On The Avenue brings that support through an expert downtown Waco team offering blowouts, luxury treatments, color, cuts, and extension consultations, with services tailored to each guest’s hair needs. Their listed Blowout Bar menu, custom treatment options, and full-service salon experience make it easier to start with confidence.
Ready to feel confident before your next hair appointment? Book your hair consultation with On The Avenue in downtown Waco and get a clear plan for your cut, color, treatment, or blowout before your service begins.