What to Know About Hair Extensions Before Your Choice
Hair extensions have transformed from a celebrity secret to a mainstream beauty solution. The hair extension industry is booming, with millions discovering the confidence that comes with fuller, longer hair. But before you make the leap, understanding your options will save you time, money, and potential hair damage.

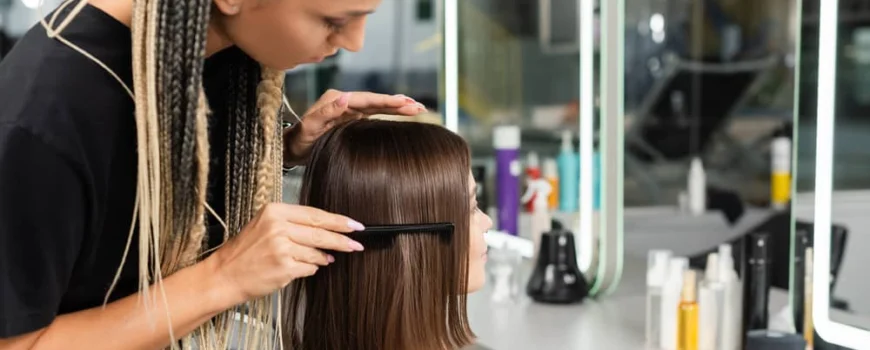
Start with Professional Guidance
Your journey should begin with a consultation at a qualified hair salon. An experienced stylist will assess your natural hair’s length, thickness, and texture. They’ll discuss your hair goals and recommend the best extension technique for your lifestyle.
During this meeting, your stylist performs a color match to find the perfect shade blend. They’ll also consider texture – whether you need straight, wavy, or curly pieces. This customization ensures natural-looking results that move like your own hair.
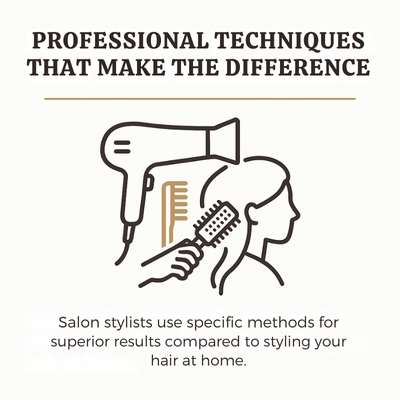
Professional stylists know the proper installation methods. They understand how to minimize damage to your natural hair. This expertise makes the difference between beautiful, healthy results and potential problems down the road.
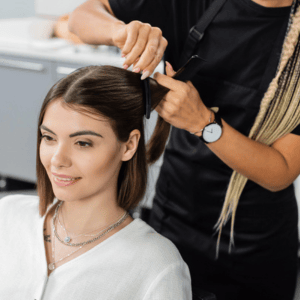
Types of Extensions: Finding Your Perfect Match
Several extension options exist, each with unique pros and cons. Here’s what you need to know about the most popular types:
Clip Ins: These temporary pieces snap onto your hair in minutes. They’re perfect for special events or occasional wear. Quality clip ins can last 6-12 months with proper care. The biggest advantage? Zero damage to your natural hair. The downside is daily application and removal.
Halo Hair Extensions: These newer options are gaining popularity fast. A halo hair extension sits like a crown around your head, with your hair covering the invisible wire. Installation takes under a minute with no clips, glue, or heat required.
Halo hair extensions offer incredible convenience. You simply put them on and take them off as needed. Their lifespan often reaches 6-12 months because they’re not worn constantly. For first-time users, halo hair extensions provide all the benefits with virtually no drawbacks. The texture of halo hair extensions blends seamlessly when properly matched.
Tape In Extensions: These semi-permanent pieces sandwich small sections of your hair between adhesive strips. The application process takes 30-60 minutes. Tape in extensions lie flat and work well on fine hair. They need moving up every 6-8 weeks as your hair grows. With proper care, the hair can handle multiple reinstallation cycles.
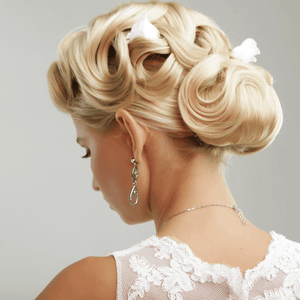
Weft Hair Extensions: These can be sewn into braided sections of your hair. Hand-tied weft hair extensions use beads and minimal braids for less tension. The process takes 1-2 hours but creates very secure attachment. Weft hair extensions can add significant length and volume. Maintenance appointments are needed every 6-8 weeks for reinstallation. The lifespan of weft hair extensions is excellent with proper care. Weft hair extensions work well for dramatic hair transformations. These weft hair extensions offer durability and versatility. Quality weft hair extensions can be reused through multiple reinstallation cycles.
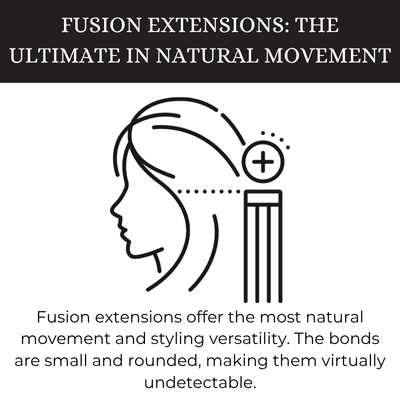
Fusion Extensions: Individual strands bond to small sections of your hair using keratin adhesive. This method takes several hours but creates the most natural movement. Fusion extensions can last 3-6 months before removal is needed. They’re versatile for styling but require expert application to prevent damage. Fusion extensions offer the most natural look and movement.
Quality Matters: Understanding Your Options

Not all hair is created equal. Understanding quality will help you make a smart investment. Remy hair has all cuticles intact and aligned in one direction. This prevents tangling and keeps the hair smooth longer.
Virgin hair takes quality even further. It’s never been chemically processed or colored. Virgin hair combined with remy hair construction is considered the gold standard because it’s stronger and more durable. Remy hair handles heat tools and coloring better than processed alternatives.
Lower-quality hair often has stripped cuticles or misaligned strands. These extensions may look shiny initially due to silicone coating. But after washing, they become tangled, dull, and frizzy quickly. Quality makes a huge difference in how extensions look and feel.
Human hair extensions cost more than synthetic options, but they’re worth it. You can style them with heat tools just like your own hair. Their lifespan is much longer than synthetic alternatives, making them more economical over time. Quality remy hair maintains its appearance throughout its entire lifespan.
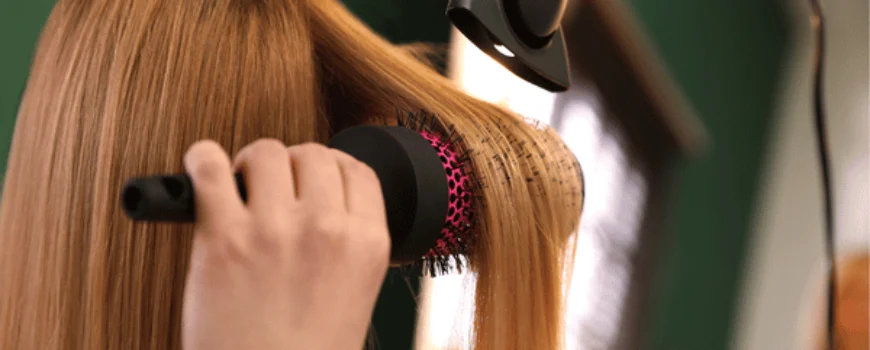
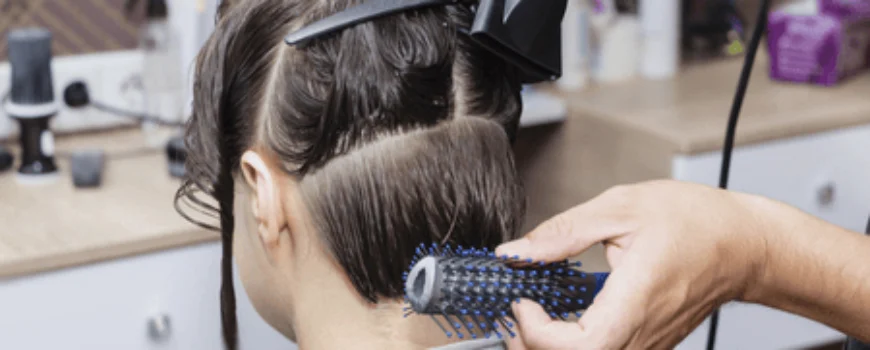
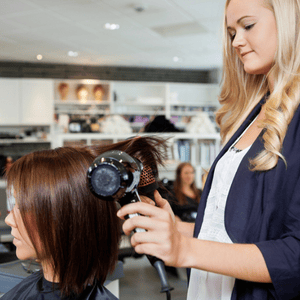
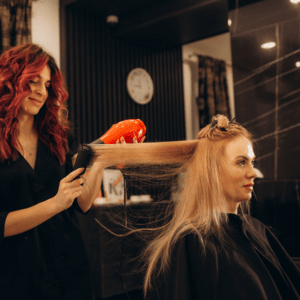
The Application Process and What to Expect
Professional installation varies by extension technique. Simple methods like halo hair extensions take just minutes to customize and fit. More complex installation methods like fusion or weft hair extensions require 1-4 hours depending on the amount of hair needed.
Come to your appointment with clean, product-free hair unless told otherwise. Be patient during the process – quality work takes time. Some tightness is normal for the first few days as you adjust to the added hair.
Your stylist will provide care instructions after installation. Many methods require avoiding washing for 48 hours to let bonds set properly. This waiting period helps ensure your extensions stay secure.
Essential Care and Maintenance
Proper hair extension care maintenance keeps your investment looking great. Here are the key practices:
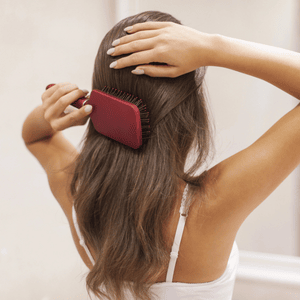
Brushing: Use a special loop brush designed for extensions. Brush gently 2-3 times daily, starting from the ends and working up. This prevents matting and tangling.
Washing: Limit washing to 2-3 times per week. Use sulfate-free shampoo and hydrating conditioners. Apply conditioners from mid-length to ends only – never on bonds or tape areas. Conditioners near attachment points can cause slippage. Gentle washing helps maintain the texture and quality.
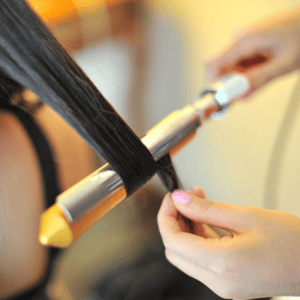
Drying and Styling: Air dry when possible to reduce heat exposure. When using heat tools, always apply a heat protectant first. Keep heat away from bonds or tape areas to avoid weakening them. Proper styling techniques help maintain the extensions’ appearance.
Moisture: Extension hair doesn’t get natural oils from your scalp. Use lightweight leave-in conditioners on the mid-lengths and ends. A drop of hair oil on the ends prevents dryness and splitting. Quality hair oil helps maintain the extensions’ softness and prevents damage.
Sleeping: Never sleep with wet extensions. Braid or loosely tie your hair before bed. Silk pillowcases reduce friction and tangling.
Regular maintenance appointments every 6-8 weeks keep semi-permanent extensions looking their best. Skip these visits and you risk damage to your natural hair. A proper maintenance routine extends the lifespan of your extensions significantly.
Understanding the Investment

Hair extension prices vary based on several factors. The method you choose affects cost – temporary options like halo hair extensions are more affordable upfront. Complex installation methods cost more due to the time and skill required.
Quality significantly impacts hair extension prices. Remy hair costs more than processed alternatives. But higher quality lasts longer and looks better, making it more economical over time.
Length and thickness also affect cost. Longer pieces need more hair, which increases hair extension prices. If you want dramatic volume, you’ll need more pieces, raising the total investment.
Don’t forget ongoing maintenance when budgeting. Semi-permanent methods need regular touch-ups that add to the total cost over time. Factor these appointments into your decision.
Making the Right Choice
The best extension technique depends on your lifestyle, budget, and hair goals. Temporary extension options like halo hair extensions offer flexibility with zero damage. Semi-permanent methods provide continuous wear but need regular upkeep.
Quality should never be compromised. Invest in the best remy hair you can afford – it will look better and last longer. Professional installation protects your natural hair and ensures beautiful results.
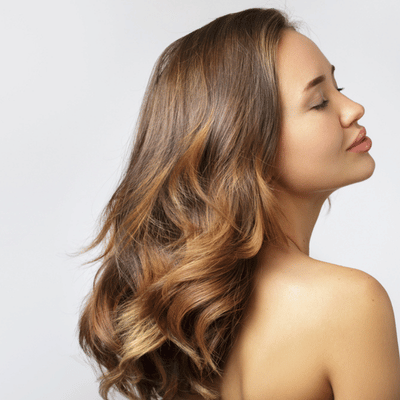
Hair extensions can provide an amazing hair transformation when done correctly. They should enhance your look while keeping your natural hair healthy. With proper care and regular maintenance, hair extensions can be worn safely for years.
Ready to transform your hair? Book a consultation with our experienced stylists today. We’ll help you choose the perfect extension technique and ensure flawless application. Don’t wait – your dream hair is just an appointment away!
Frequently Asked Questions
1) Which hair extension method is least damaging?
Halo hair extensions and clip-ins are the gentlest because they don’t use heat, glue, or tight tension. They’re ideal for first-timers or anyone prioritizing scalp and strand health.
2) How long do hair extensions last?
Temporary options like halos and clip-ins can last 6–12 months with careful handling since they aren’t worn daily. Semi-permanent methods (tape, weft, fusion) typically need maintenance every 6–8 weeks and full replacement after several months.
3) What quality should I choose—synthetic or human hair, Remy or virgin?
Human Remy hair is the best value because the aligned cuticles resist tangling, style well with heat, and look natural longer. Virgin Remy is the premium tier—unprocessed and more durable—great if you want maximum longevity and versatility.
4) What maintenance do extensions require day-to-day?
Brush gently 2–3 times daily with a loop brush, wash 2–3 times weekly with sulfate-free products, and avoid conditioners on bonds or tape. Sleep with dry, loosely braided hair and book move-up appointments every 6–8 weeks for semi-permanent methods.