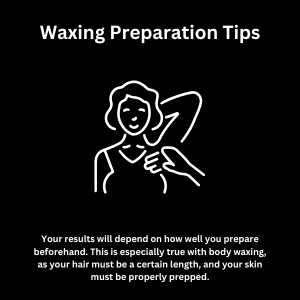
Does Waxing Reduce Hair Growth? The Truth Behind Hair Removal Methods
Are you tired of constantly battling unwanted hair in Waco’s hot and humid climate? Many of our clients ask us: “Does waxing reduce hair growth?” It’s a common question, especially when you’re weighing different hair removal methods.
The short answer: while waxing doesn’t completely stop hair growth, regular waxing sessions can significantly slow hair growth over time. Let’s talk about what really happens when you wax and what you can realistically expect as a Waco resident who has to deal with unique climate challenges.
The Problem: The Never-Ending Cycle of Hair Removal in Waco
Living in Waco means dealing with swimsuit season that seems to last forever. Shaving every other day just to maintain smooth skin becomes exhausting and time-consuming.
Those quick shaves often lead to stubble returning within 24 hours, especially noticeable on leg hair and bikini lines. Plus, our hot Texas climate can exacerbate skin irritation from frequent shaving, leading to uncomfortable bumps in different body parts and redness that’s hard to hide.
For many residents in Waco, the constant cycle of hair removal feels like it’s never-ending. You might find yourself wondering if there’s a better solution for achieving smooth, hairless skin without having to maintain it every day.
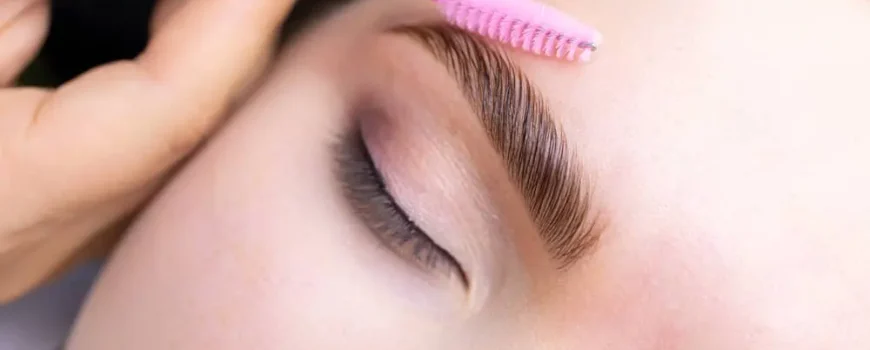
How Waxing Affects Hair Growth: The Science Behind It
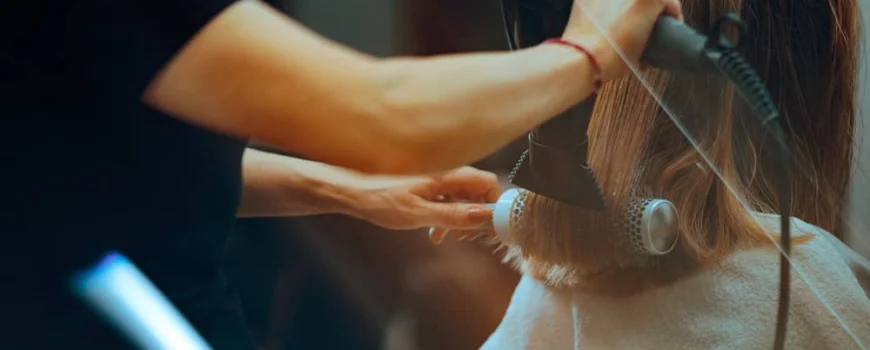
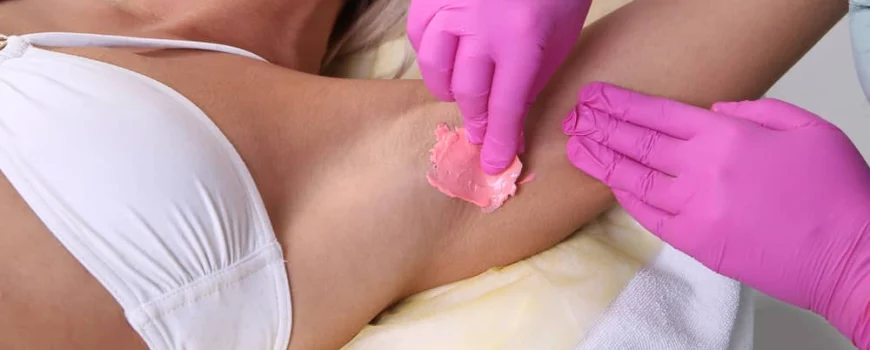
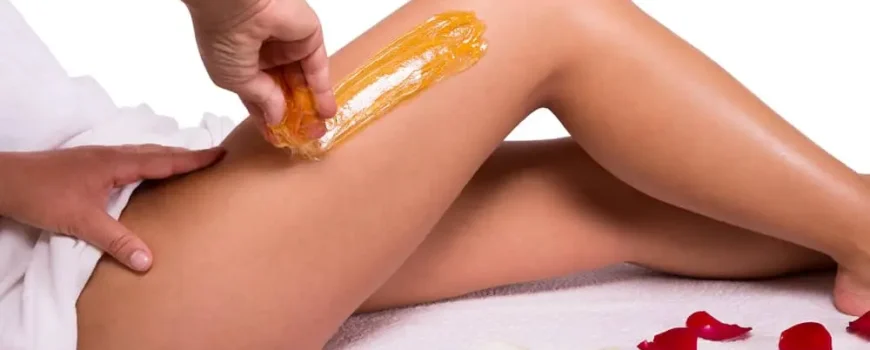
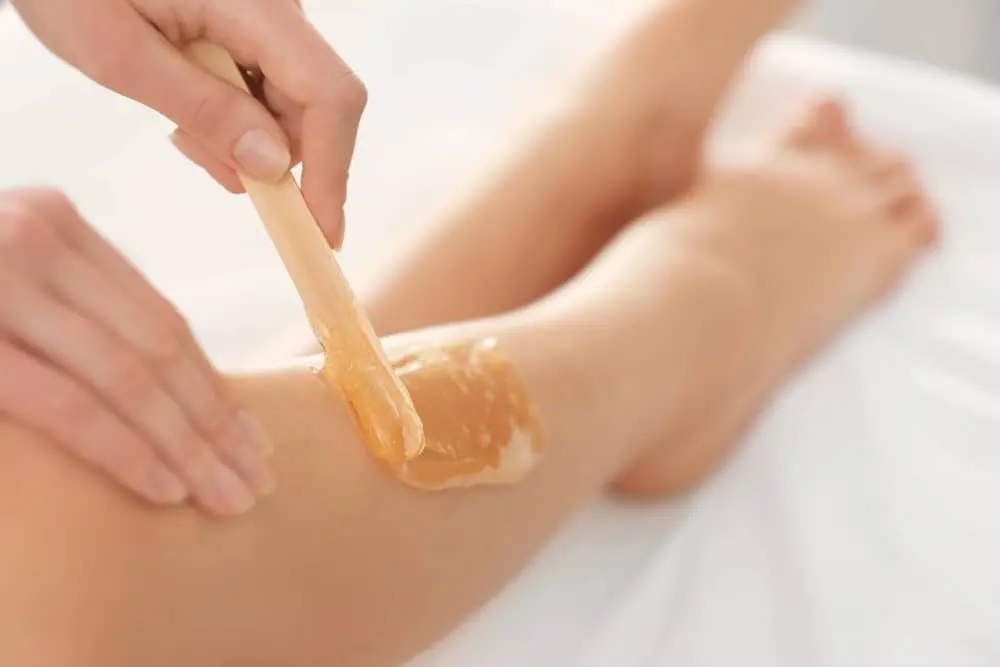
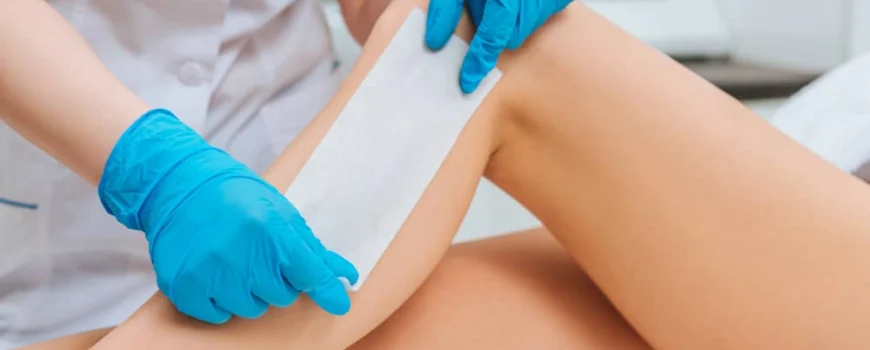
When you wax, you’re not just getting rid of hair from the skin’s surface like with shaving. Waxing removes hair from the root, extracting the entire hair shaft from the follicle.
This process actually affects the hair follicles themselves, especially with repeated waxing sessions. Over time, this can lead to hair growing back finer, softer, and sometimes sparser.
The hair growth cycle plays a crucial role in understanding why waxing can reduce hair growth. Each hair on your body goes through three phases: anagen (growth), catagen (transition), and telogen (resting).
Waxing is most effective during the anagen phase when the hair is actively growing and firmly attached to the follicle. When you remove hair during this growth phase, you cause more trauma to the follicle.
The Agitation: Why Shaving and Other Methods Fall Short
Despite your best efforts with razors, you’ve probably noticed stubble returning almost immediately. That’s because you only cut hair at the skin’s surface, leaving the root intact and ready to produce more.
This constant regrowth not only feels frustrating but can lead to hair breakage, ingrown hairs, and skin sensitivity issues. The Texas heat only compounds these problems, making skin irritation more likely and more uncomfortable.
Other hair removal methods might seem appealing at first but come with their own drawbacks. Creams can cause chemical burns on sensitive skin, while home devices rarely deliver the promised results.
The Solution: Why Waxing Works Better in Waco’s Climate

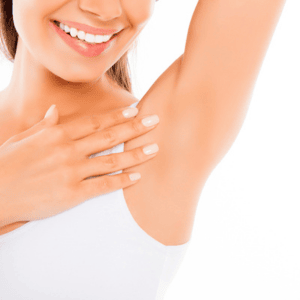
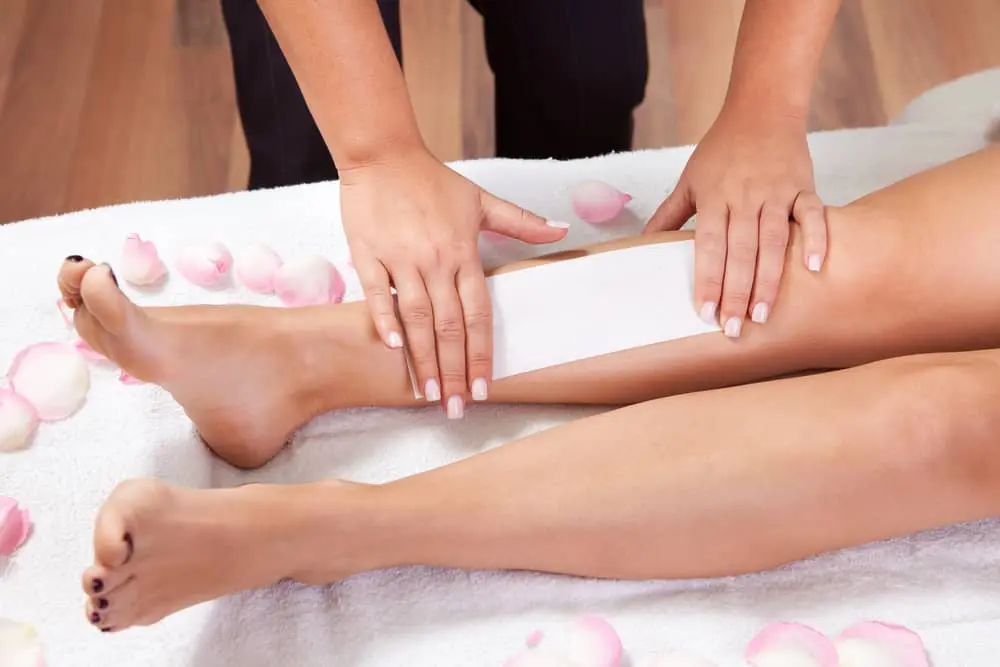
Waxing provides a more lasting solution that’s particularly well-suited to Waco’s climate and lifestyle. After a professional waxing session, you can enjoy smooth skin for 3-4 weeks rather than just 1-2 days.
The waxing process not only removes existing hair but also helps condition your skin over time. As you continue with waxing appointments, you’ll likely notice the less hair growth over time.
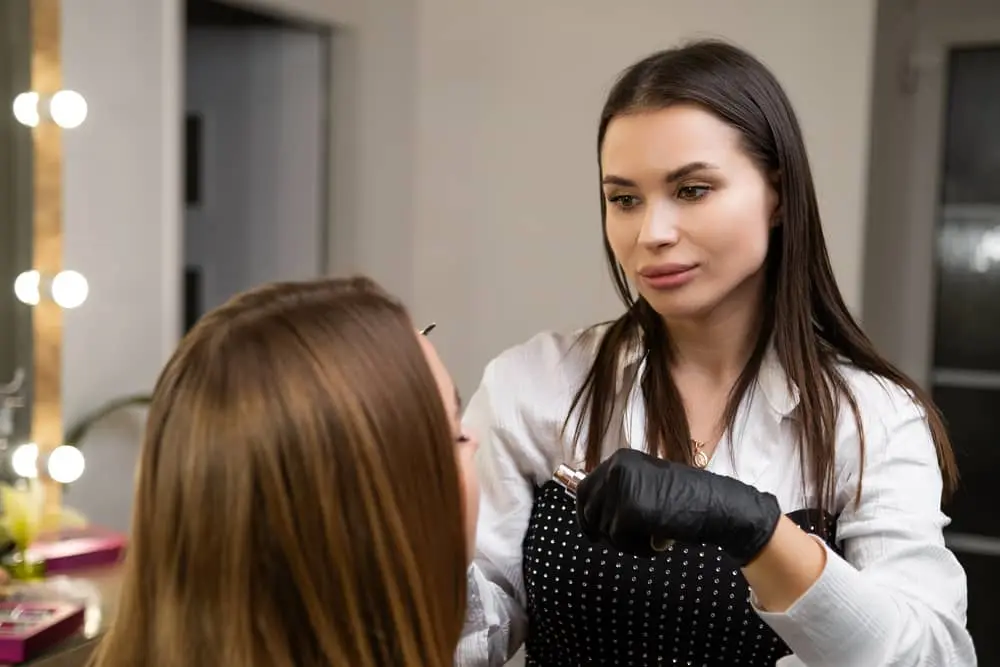
At our salon, we understand the specific skin concerns that come with our local climate and customize waxing treatments accordingly. Our specialists are trained to work with waxing all skin types and sensitivity levels.
What Really Happens When You Wax
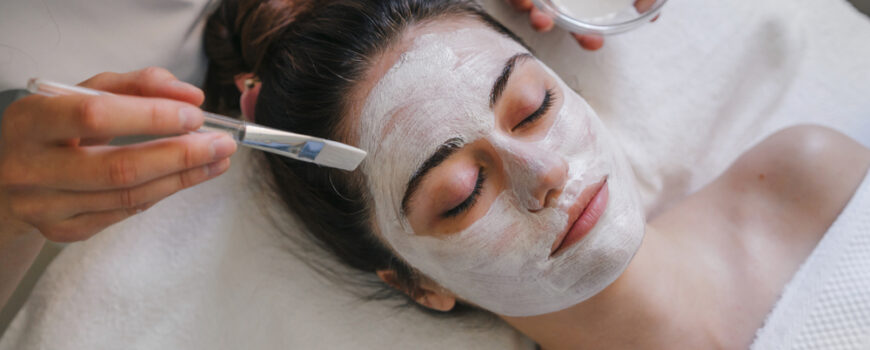
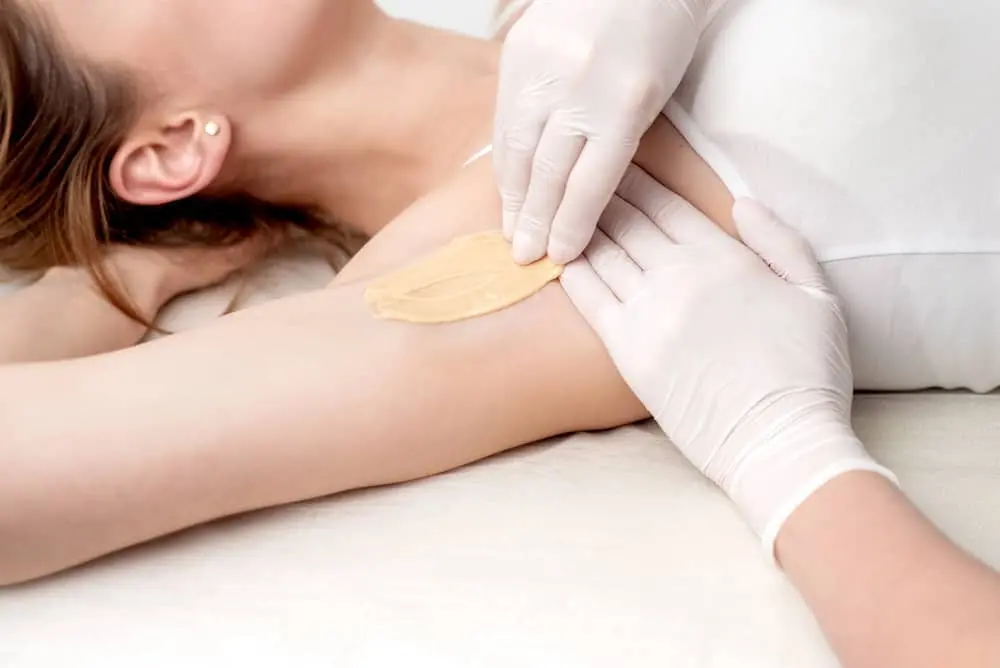
When a skilled esthetician performs a waxing treatment, they carefully remove hair from the root. This means the hair follicle must produce an entirely new hair from scratch.
This regrowth process takes time, typically 3-6 weeks, depending on the area and your individual growth cycle. During this period, you can enjoy completely smooth, hair-free skin without daily maintenance.
With each waxing session, the follicle typically becomes slightly weaker. Over time, this can lead to sparser regrowth and finer hair texture.
Does Waxing Stop Hair Growth Permanently?
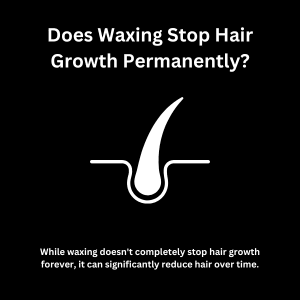
While waxing doesn’t completely stop hair growth forever, it can significantly reduce hair over time. Many of our long-term clients report up to 50-80% reduction in hair growth after waxing for 1-2 years.
This isn’t a permanent solution like laser treatments claim to be so you will need a next wax, but it’s a significant improvement that makes management much easier. Some clients even find that certain areas eventually require much less frequent waxing.
Why Consistency Matters for Waco Residents
For the best results, we recommend waxing every 3-4 weeks at first. This timing matches the typical growth pattern and ensures you achieve smooth skin at the optimal stage of the cycle.
Waxing regularly helps “train” your hair cycles to become more in sync. When you wax regularly, more hairs are removed in the early growth phase, maximizing the weakening effect on follicles.
Skipping sessions or switching back to shaving between appointments can undo some of the progress. This is especially true in Waco’s climate, where higher temperatures can stimulate faster hair growth.
Preventing Ingrown Hairs: A Special Concern in Humid Climates
Waxing helps prevent ingrown hairs, which are particularly problematic in Waco’s humidity. Unlike shaving, which creates sharp hair tips that can easily curl back into the skin, waxing removes the entire hair.
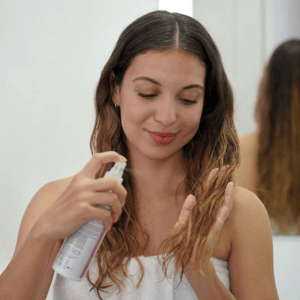
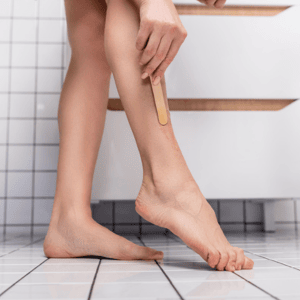
When new hair grows back after waxing, it has a natural, softer tip that’s less likely to become ingrown. Regular exfoliation between waxing appointments further reduces this risk. We recommend a gentle scrub 2-3 times weekly to remove dead skin cells that might trap new hairs.
Beyond Hair Reduction: Additional Benefits of Waxing
Waxing provides natural exfoliation by removing the top layer of dead skin cells along with unwanted hair. This leaves your skin not only hair-free but also smoother and more radiant. Many clients notice improved skin texture and fewer breakouts in waxed areas over time.
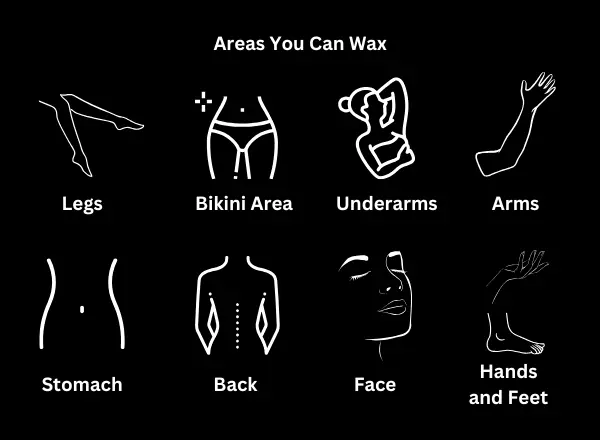
For Waco residents who enjoy outdoor activities, having smooth skin for weeks without maintenance is especially convenient. Whether you’re getting a bikini wax for lake season or addressing body hair concerns, the long-lasting results make waxing well worth the initial investment.
Debunking Common Waxing Myths
Contrary to popular belief, waxing does not cause hair to grow back thicker or darker. If anything, the opposite is true – hair typically returns finer and lighter with waxing.
Another myth is that waxing always causes painful irritation. While your first wax might be uncomfortable, our specialists use techniques and products specifically designed to minimize the amount your skin reacts and reduce redness.
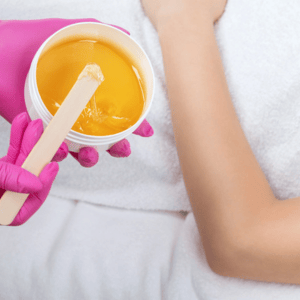
Hard wax options are particularly gentle on sensitive areas like the bikini line and facial hair. We select the appropriate wax type based on the treatment area and your skin sensitivity.
The Waco Advantage: Customized Waxing Services
At our Waco salon, we understand that each client’s hair growth pattern and skin type are unique. We create customized waxing schedules based on your specific needs and growth patterns.
Our estheticians are specially trained to work with the skin concerns common to our region, including sensitivity issues related to our climate. We provide detailed aftercare instructions tailored to Waco’s weather conditions to ensure optimal results.
Whether you’re preparing for a special event or maintaining waxing treatments, we adjust our approach to help you achieve the best possible reduction in hair growth. Our bikini wax and Brazilian wax techniques are specifically designed to minimize discomfort while maximizing long-term hair reduction benefits.
Ready to Experience Reduced Hair Growth?
If you’re tired of the constant battle against unwanted hair, professional waxing offers a solution that works with your body’s natural hair cycle. While it won’t stop hair growth completely, regular waxing reduces hair growth significantly.
Ready to transform your hair removal routine? Schedule a consultation at our salon today to discuss how our waxing services can be tailored to your specific body hair concerns. Say goodbye to daily shaving and hello to weeks of smooth, carefree skin.